
How We Use Our Teacher Planner to Get and Stay Organized
Steph is a Planner with a capital-P. Wandering the teacher planner aisle at Target looking for just the right one was always a highlight of the summer.
She was texting with a friend this week who’s on vacation in Europe, and when she asked about his itinerary, he said, “I don’t know. I’ll just wander around to get my bearings and see what I want to do while I’m here.”
I’m sorry, WHAT?!?! Does. Not. Compute. You mean, you didn’t go through three tour books ahead of time, figure out all the things you wanted to do, map out which things were in a similar area, and then work out a daily schedule? What if you miss something???
Admittedly, being a Planner with a capital P can have its downsides. Since leaving the classroom (and grappling with an OCD diagnosis), Steph has had to learn a lot about letting life unfold as it comes. It’s a painful work in progress.
But in the classroom, Steph’s love of a good teacher planner was a cornerstone of our success. The possibility of not finishing a novel never even occurred to us. When we heard teachers wondering what to do the next day, we couldn’t relate. After all, we had months of copies organized in our file cabinets. And best of all, it wasn’t a chore to Steph. Sitting down with a blank teacher planner was the highlight of the year.
Obviously, much of this can be attributed to Steph’s natural temperament, but some of it also comes from teacher training. Grant Wiggins and Jay McTighe’s Understanding by Design was a foundational text in Steph’s credential program, so backward design is how she learned to lesson plan, and it’s an approach that is essential when we’re building a unit from scratch.
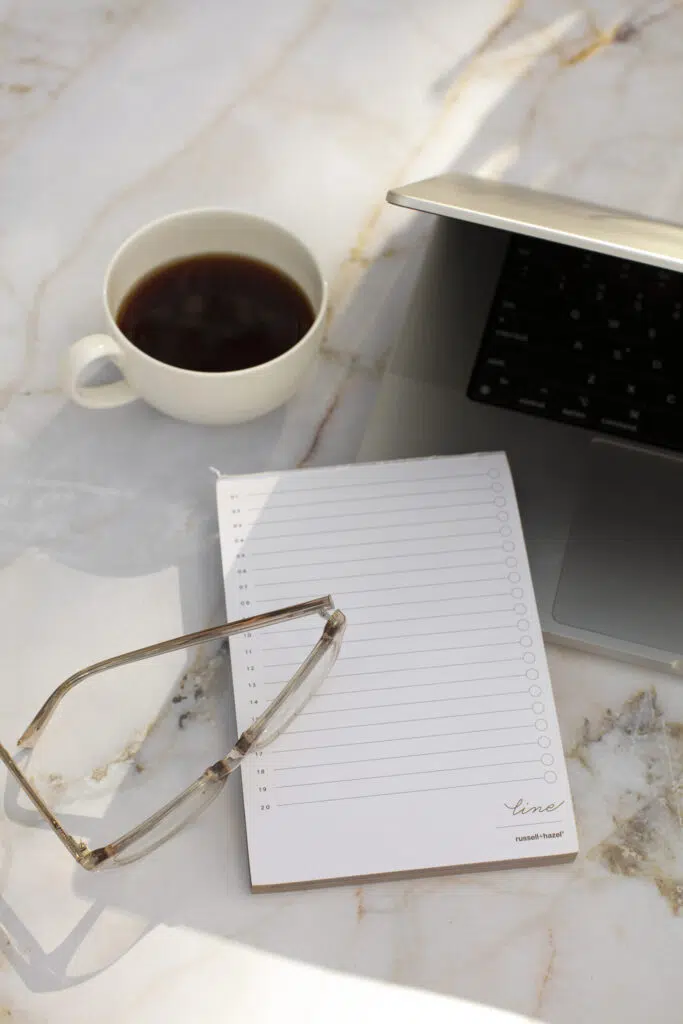
Backward design can be a complicated and lengthy process, but it doesn’t have to be. And you don’t even need a fancy teacher planner to do it. After years of to-do lists, Excel spreadsheets, and every teacher planner on the market, we created our own and added it to our Free Resource Library. Even better? We’re pulling back the curtain to share our planning process.
Becoming a Teacher Planner Extraordinaire
Step One: Map Out Your Year
One of the first tasks Steph did during her planning each summer was sit down with a blank teacher planner and the school’s academic calendar, filling in start and end dates, holidays, ends of grading periods, and modified schedules.
Not only was this a relatively mindless way to ease back into work, but it let us see from the outset what the roughest outline of our year would look like. And in our teacher professional development days, we immediately added any dates related to testing, assemblies, or site-specific events.
This simple task was a lifesaver on many occasions. Nothing is worse than having a solid unit plan mapped out and then finding out that you have an unanticipated assembly the next day followed by three days of testing. Your most careful planning, immediately ruined.
This isn’t to say that we never had to do some last-minute rearranging, but recording dates as soon as we found out about them always helped us stay in control of our schedule, a feeling that can easily be lost at the whims of administrators and counselors (or yourself if you don’t write down dates. Ahem, Kate).
The longer we worked at the same school, the easier it was to anticipate the interruptions that would come our way. We knew, for example, that back-to-school assemblies would be run through English, that the college counselor would want a couple days of our seniors’ time in the fall, that students would have to meet with their counselors for registration in February.
We also started to anticipate our own needed personal days: if we had a vacation, retreat, or conference on the calendar, we’d write it in early. If we knew we’d be “sick” at a certain point in the year (looking at you, October and March) or need a grading day, we’d make a note of that so we could build it into our class schedules.
The next thing we added was any classroom routines. For example, we had a Delayed Start day every week where classes were only 40 minutes long, and we used those days for independent reading. We blocked those out from the beginning, partly so we knew how many days we had to work with and partly so we’d keep them a priority, not eliminating them every time we got behind or had something more urgent to do.
The final step in this part of the planning process is blocking out our overarching units. Most of us have some idea of what we need to cover over the course of the year, whether that comes from our district pacing guide, the novels available to us, the College Board course outline, or our experience.
It’s essential to know approximately how long you can spend on each unit before you get into the nitty-gritty of planning it because it puts loose boundaries around your planning that keep you from teaching an American Literature class that only makes it to the 1920s or leaving your students hanging because you ran out of time to finish your last novel.
Each year, we made notes on our calendar about any adjustments that would be beneficial to the timing so that when we sat down to do our big-picture planning in the summer, we could take them into account from the beginning, making decisions about where we would get the extra time we needed.
JOIN our Free Resource Library TO RECEIVE…
Access to our teacher planner!
Step Two: Map Out Your Unit
When Steph had energy (or we were teaching a class we had taught before), we’d map out a full year or semester at once, but sometimes that felt too overwhelming, especially when we were teaching a brand new class or our district changed textbooks. In those cases, we’d tackle one unit at a time.
We followed the same steps whether we were creating a unit for the first time or repeating one from a previous year, though, of course, the process went much faster when we were repeating a unit we’d taught before.
We’d start with a list of all the activities we wanted to do in a unit. If we’d taught it before, we knew about how long each activity would take, but if it was a new unit, we’d make our best guess, always overestimating the amount of time our students would need (a trick we learned the hard way). Before we switched to a (mostly) homework-free classroom, we planned for about 30–60 minutes of reading time at home; once we switched to a flipped classroom model, we used the timestamps in the audiobook to pace our reading.
Then we’d map out what that would look like on our prepared yearly calendar and take a step back. This is where Kate came in since she was much better at providing a practical and analytic eye to Steph’s often overly optimistic planning.
Helpful Questions to Consider as You Plan
We included two additional sections on our teacher planner: “Monthly Goals” and “Focus Projects.” This let us keep track of longer projects we were working on, remember where our attention would be needed at different points throughout the year, and prioritize which of our overwhelming number of “to-dos” was most important.
Step Three: Map Out Your Week
Ideally, Steph actually liked to have two weekly lesson plans going at once: the current week, which was hopefully done and just for reference, and the following week, which was what she was actually working on. While to some this might sound a little bit crazy, it became essential when we moved to a flipped classroom model: we posted an agenda on Canvas every Monday that had all the links students needed for the week, and we both had a better Sunday (and liked each other more) when we’d already started on it.
When we built our own teacher planner, we made sure to include the things that we needed to know each day:
Opener:
Focus:
Continue/Homework:
Prepare:

We included a “Goals for the Week” section to prioritize what we most needed to be accomplished that week. We may be good planners, but when our to-do lists get long with things we don’t want to do, we’re procrastinators who will happily spend three hours creating Kahoots we’ll need a month from now instead of grading the essays that have to be included in the progress reports going out this week.
We also included a “Notes” section for a couple reasons. Sometimes, you just need a place to write reminders for yourself where you know you’ll see them, and there’s no better place than your weekly outline to store those. But this was also an essential tool for us when it came to our yearlong planning. If something didn’t work, needed revision, or needed a time adjustment, we’d make a quick note we could refer to when we sat down to do our planning for the next year.
Finally, we made a blank version of our weekly teacher planner pages because sometimes you just need a version without headings to do what you need to do and sometimes you need a place for a good old to-do list. Sometimes we got along just fine with a to-do list on a sheet of paper. But when crunch time came along and we felt overwhelmed by how much we had to do, it was often helpful to make a weekly to-do list, deciding exactly what we’d grade each day or which tasks could feasibly be accomplished in a day.
Planning doesn’t have to be a complex ordeal, but it does make a massive difference in our ability to get through our content and navigate the many interruptions that come our way throughout the year. The more we do it, the better we get at it, and the more we figure out the system that works best for us.
No matter where you fall on the planner/free spirit spectrum, we hope our teacher planner brings some joy and organization to your day. When you sign up for access to our teacher planner, you’ll get access to our entire Free Resource Library, which we update regularly, and you’ll be added to our mailing list, which means you’ll receive weekly encouragement and goodies to get you through the week. Now, what teacher doesn’t need that?